Getting Started in CEO3
The first big change is that you'll be logging into a new URL. Access CEO3 at:
https://ceo3.getsnworks.com
CEO3 uses the new Accounts system, so you'll be able to access any available publication through the same login.
Logging in
CEO2
CEO3 and Accounts are built to maintain the strongest backward compatibility possible. That means that after updating to CEO3, if you do nothing, your users won't notice a difference. They'll still be able to log into CEO2 with the same information as always. You can even continue to manage users in CEO2.
This is worth repeating: If you do nothing, your users won't notice anything different.
It's only after adding users to the new Accounts system that you'll start to see a difference. Once a user's account has been created in Accounts, they won't be able to use their old CEO2 login information anymore.
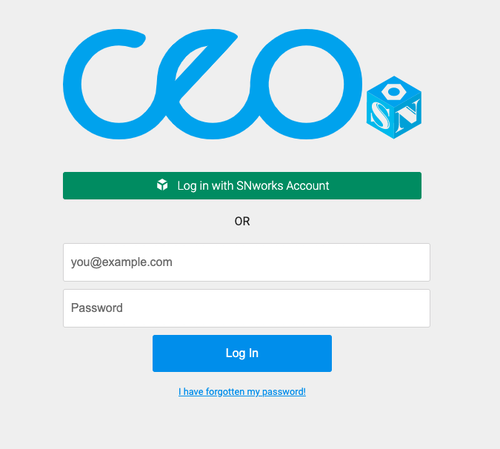
They'll still be able to log into CEO2, but they'll need to use the "Log in with SNworks Account" button instead of the normal login form.
CEO3
Users will only be able to access CEO3 if they have an account in Accounts and they belong to the "CEO Users" group (more on that below). To log into CEO3, simply go to https://ceo3.getsnworks.com.
Resetting a lost password
Since your account is managed by SNworks Accounts, instead of CEO, the reset lost password link on CEO2 won't work for you. You'll need to use the Accounts Lost Password form to reset it.
Managing users
Please see Managing Users for more information.
Managing content
Creating a new article
To create other types of content, just click the arrow next to the "New Article" button or use a Command Menu shortcut.
Tip
Use the C then A shortcut to create a new article.
Things to try
- Try creating an article using the Command Menu.
- Add an author and a tag.
- Copy some article text from a formatted document and see how CEO handles it.
- Use a Command Menu shortcut to save the article.
Embedding media
New files can be uploaded by dragging them into the browser, or by tapping the menu next to "New Article" and selecting "Upload".
Things to try
- Upload an image from your computer or mobile device.
- Align and wrap text around an embedded photo.
- Set the dominant media for an article.
Publish
Things to try
- Schedule an article to publish a week into the future.
- Unpublish your scheduled article.
Tip
You can save your article without leaving the keyboard by typing Cmd+K then type "Save," or just hit Cmd+Enter.
Edit a preview
- Add watermark text to a photo.
- Change the aspect ratio of a photo.
Uploading to a gallery
Note
You can only upload to a new gallery at this time. To upload files to an existing gallery, you should upload them as normal, then manually add them to the desired gallery.
Things to try
- Upload multiple photos into a new gallery.
- Reorder the new gallery's photos.
Filtering and sorting
- Change your view to show only photos in a grid.
- Change your view to show only articles in "Draft" status.
Tip
Using the Command Menu, you can change filter and sort settings without having to tap anything. Just hit Cmd+K to try it out.
Next Steps
More editor features
Things to try
- Embed a YouTube video in your story.
- Create a three-column grid for a contact page.
- Duplicate a paragraph.
- Edit the HTML of a single paragraph.
Editing single elements
In the text editor, clicking any block will reveal a tool menu to the side. Try clicking the code icon to edit the HTML of that element.
Create and edit automations
Things to try
- Create an automation that emails you when a story changes to the final workflow step.
Send to CEO
With Send to CEO, you can one-way sync content from your Google Drive (tm) folders directly to CEO. No more copy and paste!